
Have a good sunday.
Watch the videos because there are some things from the videos that I didn’t include here just because it’d be so difficult to explain in text. For example, hooking up the wifi router used for the in ears.
If sound isn’t working,
Make sure everything is on.
Make sure the ethernet cable is plugged into the A ports (explained below)
Make sure the channels are unmuted and the faders are up
Make sure the main volume is turned up. (watch the videos)
Make sure you turn on the board BEFORE you turn on the stage box. If you turned on the stage box first, to fix it just flip the stage box off and then flip it back on.
To connect your instruments:
Thomas will be vocals 2. His microphone will plug into Input 2 on the digital snake.
Mike on Bass. His bass will plug into one of the direct boxes (there are 2. you can pick whichever one). The other end of the direct box will plug into Input 7 on the digital snake.
Drums - there are 3 microphones. Kick = input 21. Snare = Input 22. Floor Tom = Input 23. The kick drum microphone is in the box with all the microphones, and the kick drum mic stand is in the closet.
To connect your in ears:
There are colored xlrs in the stage box. I sent a photo, but the color order is this:
RED goes into OUT 2 (this is for VOCALS 2).
PURPLE goes into OUTPUT 5 (This is for BASS).
ORANGE goes into OUTPUT 6 (This is for drums)
To connect the speakers:
Use an xlr cable. Watch the videos to know where the cable should plug in on the speaker. It’s too hard to explain.
Here’s where to plug in on the stage box:
1st speaker goes to OUT 15 on the stage box
2nd speaker goes to OUT 16 on the stage box
the sub goes to OUT 14 on the stage box.
Dont’ forget to turn the speakers and sub on.
To connect the board to the digital stage box:
Use the ethernet cable that looks like an XLR cable. Check the connection of the cable to see that it’s an ethernet cable, not an xlr. I put this cable in the stage box.
The cable connects to the A PORTs on the digital snake and the sound board.
Everything below here is extra. It’s more details but shouldn’t be needed.
Plug one end of your XLR into A on the digital snake. Plug the other end into your microphone or direct box | Grab another XLR and plug one end into B on the digital snake, and plug the other end into the C XLR under the stage box. | Plug the in ear cable into D, which is the black and silver thing with knobs and buttons that’s mounted inside the stage box.
Ch1 Vocals 1 | A = Input 1. B = Output 1. C = Yellow. D = 1.
Ch2 Vocals 2 | A = Input 2. B = Output 2. C = Red. D = 2.
Ch3 Vocals 3 | A = Input 3. B = Output 3. C = Green. D = 3.
Ch4 Acoustic | A = Input 4. B = NONE 4. C = NONE. D = NONE.
Ch5 Keys L | A = Input 5. B = Output 4. C = Blue. D = 4.
Ch6 Keys R | A = Input 6. B = NONE. C = NONE. D = NONE.
Ch7 Bass | A = Input 7. B = Output 5. C = Purple. D = 5.
Ch8 - | A = Input 8. B = Output 6. C = Orange. D = 6.
Ch9 Speech (wireless mic) | A = Input 9. B = NONE. C = NONE. D = NONE.
Ch10 Click | A = Input 10. B = NONE. C = NONE. D = NONE.
Ch11 PC L | A = Input 17. B = NONE. C = NONE. D = NONE.
Ch12 PC R | A = Input 18. B = NONE. C = NONE. D = NONE.
Ch13 Talkback | A = Input 13. B = NONE. C = NONE. D = NONE.
Ch14 | NONE
Ch15 Electric L | A = Input 15. B = Output 7. C = Gray. D = 7.
Ch16 Electric R | A = Input 16. B = NONE. C = NONE. D = NONE.
Setup
I ordered these steps based on what’s most logical. Even though these don’t all have to be done in this order, please follow this order so that this list also functions as a checklist. You do not have to wait for each step to be completed before moving to the following step. For example, if 1 or 2 people volunteer to take on step X, 1 or 2 people can move on to step Y. Be sure to over-communicate what step you’re going to do and over-communicate when you’re finished with that step.
Put an 8ft long table on the stage. If you’re not sure where to put it, don’t worry about it; on the stage is good enough. (This is what the computer and sound board go on). I think they store these tables in the closets in the back of the room. Don’t get stuck on this though; if you can’t find a table, move to the next step.
Unload the closet. Worship things can go on the stage. Other things can go on the floor in the sanctuary. Note: the stage box case has to come out before the sound board case.
Clear the kids rooms. Help Thomas Webb move tables and chairs. Take a picture of a room before you clear it so we know exactly how to put it back together.
Move the lobby furniture to the hallway we don’t use.
Put a 6ft table in the lobby. This is the welcome table.
Put a skinny table in the lobby. This is the kids check in table.
Put the bins in the correct locations. Stack bins and use the roller.
Sanctuary Bin 1 and Bin 2 can stay in the sanctuary.
Lobby Bin 1 will go to the lobby.
Kids Bin 1, Kids Bin 2, Younger Kids Bin 1, Younger Kids Bin 2, changing table, and rocking chair will go to the Nursery/preschool.
Older Kids Bin 1, the rolling TV, and the passport speakers (and its cables) go to the elementary room.
Put up Pop up banners.
Elementary banner - by elementary room
Preschool/nursery banner - In the middle of the hallway by the preschool/nursery door. (Putting in the middle is intended to stop people from going further down that hallway)
Black Pursuing Jesus Together banner - at the end of the long hallway
Welcome Banner - lobby, next to welcome desk
Directions banner - Lobby, in front of Bayview’s front desk
Put out A frames and flags
Go get yourselves breakfast. You deserve it.
If time allows, you can do these:
Put a table cloth on the Lobby table (The table cloth is in Lobby Bin 1).
Set out two 6ft tables in the sanctuary. Move one to the back along the center window (this is for communion). Move the other along the left wall (this is for coffee).
Put a table cloth on each of those tables - the coffee table and the communion table. The table cloths should be in Sanctuary Bin 2 if things were packed correctly. If not, they’ll be in Sanctuary Bin 1.
Teardown
I ordered these steps based on what’s most logical. Even though these don’t all have to be done in this order, please follow this order so that this list also functions as a checklist. You do not have to wait for each step to be completed before moving to the following step. For example, if 1 or 2 people volunteer to take on step X, 1 or 2 people can move on to step Y. Be sure to over-communicate what step you’re going to do and over-communicate when you’re finished with that step.
Grab the A frames and flags. Put the A Frames in the storage closet. Put the flags back where you got them.
Grab the bin cart. Grab the lobby bin, and go to the kids rooms and grab all the Bins, rocking chairs, changing table, and passport speakers with its cables. (You don’t need to bring the TV yet if you’re not able to). Put all of those bins and items in storage.
If you need to take 2 trips, make sure the changing table comes on the first trip. It’s one of the first things to go in the storage closet so it’s needed back asap.
Ideally, someone else will pack up the lobby bin. If not, you friends might need to do it.
Put away the popup banners in their cases, and put them in storage. They go underneath the sink.
There are 5 banners.
Put the lobby tables back. The welcome table and the kids check in table.
Put the chairs and things back in the lobby.
Put the kids rooms back how they are supposed to be. Someone was supposed to take a picture of how it looked before we moved things.
Grab Sanctuary Bin 1 and Bin 2, and put them in the closet.
Put the baby gate on top of all the bins in the closet. (Wait until all EIGHT black bins are in the closet).
Go get yourselves lunch. You deserve it.
Worship team will put worship things back into the storage closet.
Lobby
Setup
Put on tablecloth
Lay out all the items. Make it look nice.
Pens, journals, Bibles, stickers, hand sanitizer, mints.
Put kids check in items on check in table. Make it look nice.
Check in station with iPad, printer, and letter board sign.
After everything is set up, put the bin under the table.
Connect iPod touch to the bluetooth speaker and start playlist. Put the iPod touch and bluetooth speaker on the bin under the table.
Teardown
Let Lother or Thomas Webb know if we’re running out of anything.
Bibles, journals, pens, mints, stickers
Pack everything up in the bin. Don’t just throw things in. Keep things organized so setup is easy for the person next week.
Everything in the Lobby Bin
Table cloth (for the welcome table)
Bluetooth Speaker
Pens
Journals
Stamp and ink
Bibles
Kids Check In
Ipad
Ipod touch
Stickers
Hand Sanitizer
Extra Check in stickers
Life Saver Mints
Communion and Coffee Tables
Setup and Teardown
Communion Table Setup
Communion Table Teardown
Coffee Table Setup
Coffee Table Teardown
Sanctuary Bins
Pay attention to what goes in which bin! These bins can only fit everything if the bins are packed correctly.
Sanctuary Bin 1
Communion Trays
Coffee Machine
Coffee lids
Coffee Creamers
Beans / Folgers
Sanctuary Bin 2
Coffee packets and things
Communion items (In clear bin)
Coffee Bins
Table cloth (for communion)
Table cloth (for coffee table)
What’s in the Bins
Sanctuary Bin 1
Communion Trays
Coffee Machine
Coffee lids
Coffee Creamers
Beans / Folgers
Sanctuary Bin 2
Coffee packets and things
Communion items (In clear bin)
Coffee Bins
Table cloth (for communion)
Table cloth (for coffee)
Lobby Bin 1
Table cloth (welcome table)
Bluetooth Speaker
Pens
Journals
Stamp and ink
Bibles
Kids Check In
Ipad
Stickers
Hand Sanitizer
Extra Check in stickers
Life Saver Mints
Kids Bin 1
Kids snacks
Cups
Paper Towel (1x)
Kids Bin 2
Toys
Younger Kids Black Bin 1
Clear Bin 1 -
Puzzles/books
Clear Bin 2 -
Table Cloth
LanyardS
Crayons
First Aid Kit
Bag of pencils
Disinfectant Spray
Disinfectant Wipes
Cleanex
Younger kids Black Bin 2
Floor squares
Older Kids Black Bin
Blocks
Clear Bin 1 -
Table Cloth
Lanyards
First Aid Kit
Boxes of crayons (2x)
Box of pencils (Pencil sharpener in pencil box)
Box with glue, tape, scissors
Disinfectant wipes
Worship Bin 1 Small Clear
Piano DI
Bass DI
Acoustic DI (in box)
Tuner pedal
Reverb Pedal
Pedal jumpers (x6)
Power for pedals
Guitar picks
Worship Bin Blue
Microphone Receiver
XLR for microphone receiver
Power for microphone receiver
Worship Bin Black
Mac Mini
Mac Mini Power
Router
Ethernet for router
Power for router
HDMI Cable
1/4inch for audio recorder
Worship Bin 2 Small Clear
SM58 (3x)
Wireless microphone
SM57
Worship Bin 3 Small Clear
1/4inch cables (6x)
Worship Bin Big Clear
XLR Cables, split down the middle.
Stage Box Drawer
In ear cables
9V batteries
Aaa batteries
Aa batteries
Ears of shame
7-11 Classroom
7-11 Classroom Setup
Setup tables and chairs
2 long tables to use as the student tables. If there are no long tables out, you can combine shorter tables.
1 short table to use as the teacher table.
Put chairs around the student tables.
Roll the TV out of the closet, place it at the front of the room, and plug it in
Pull out the “Older Kids” bin from the closet and unload the following items:
Put on student tables: Bibles, crayons, colored pencils, and paper
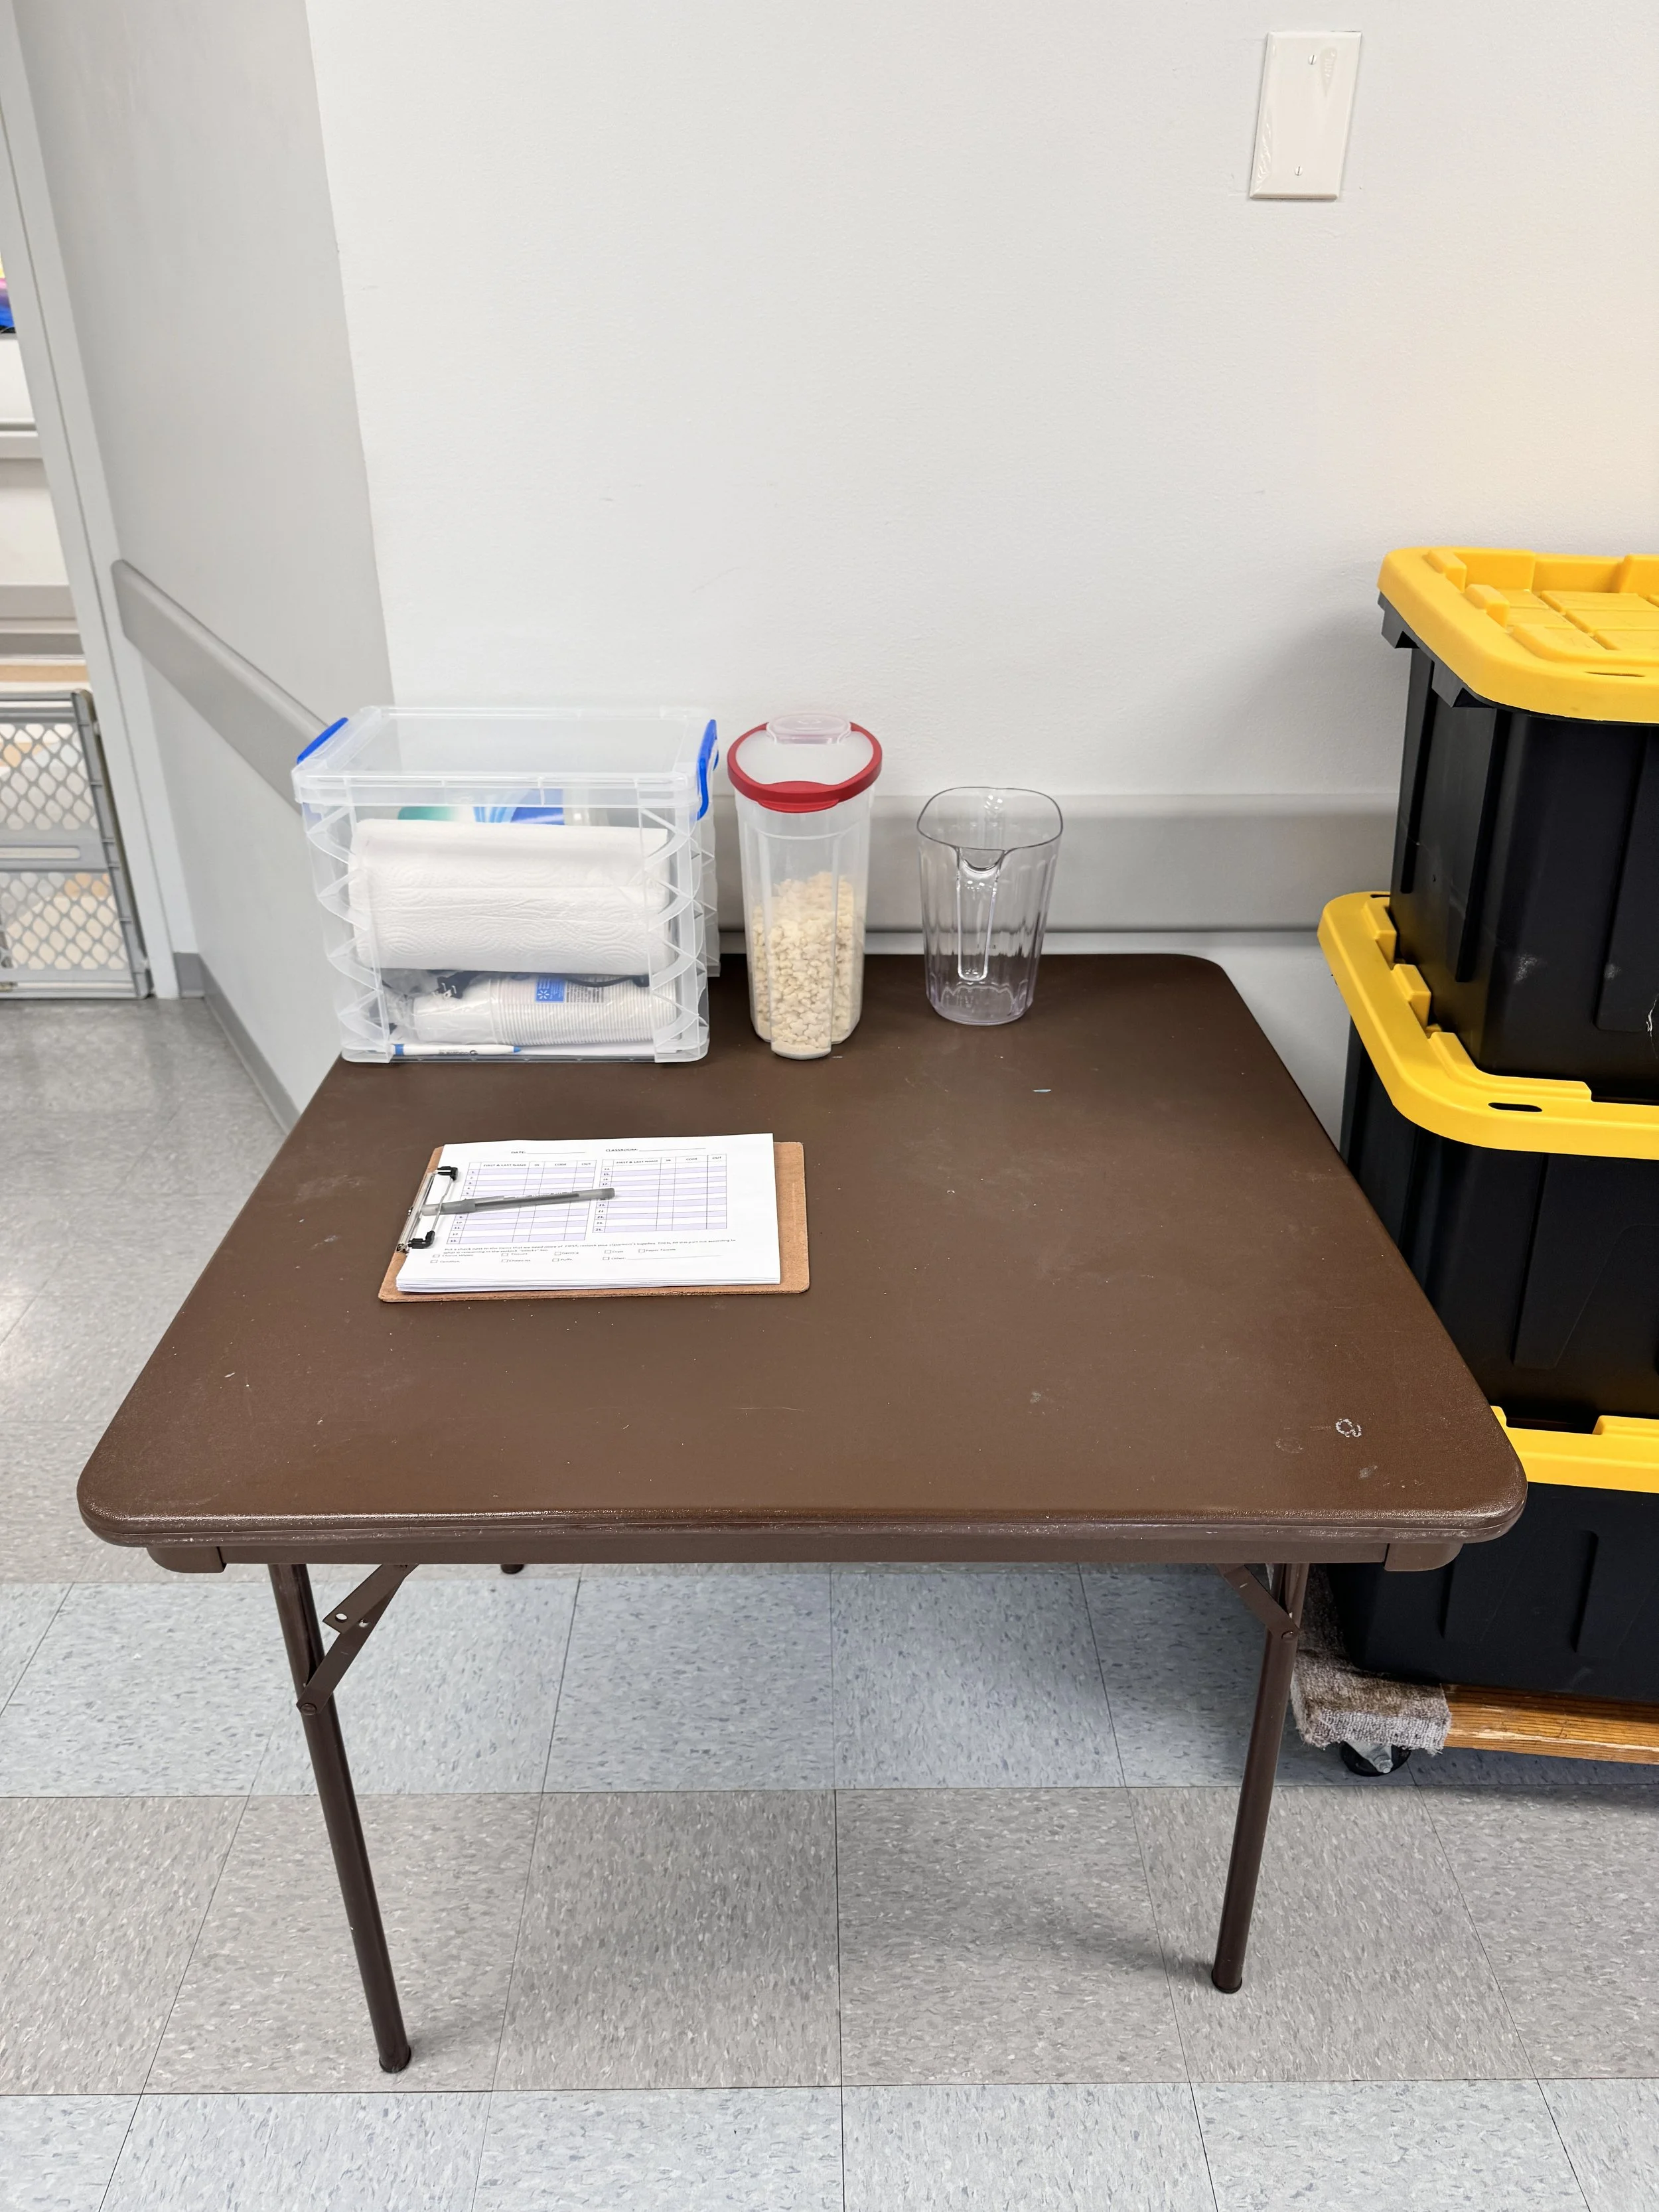
Put on teacher table: lanyards, check-in clipboard, walkie talkie, Talking Donkey, cheez-its container, water pitcher, cups, germ-x, tissues, paper towels, and Clorox wipes.
Refill supplies (if needed)
Extra supplies are in the snacks bin in the storage closet.
Extra supplies include: snacks, cups, germ-x, tissues, Clorox wipes, and paper towels.
Fill up water pitcher at the water fountain
See if any other teachers / classrooms need help
7-11 Classroom Teardown
Sweep up any crumbs or things on the floor
Use Clorox wipes to wipe any marks on the tables from crayons.
Put everything back into the “Older Kids” bin
From the student tables: Bibles, crayons, colored pencils, and paper
From the teacher table: lanyards, check-in clipboard, walkie talkie, Talking Donkey, cheez-its container, water pitcher, cups, germ-x, tissues, paper towels, and Clorox wipes.
Put the “Older Kids Bin” in the closet
Clean up our belongings
See if other classrooms need your help.
You can leave tables and chairs where they are! You don’t need to put any back.
3-6 Classroom
3-6 Classroom Setup
Setup tables and chairs
2 long tables to use as student tables. If there are no long tables, you can combine shorter tables.
1 short table to use as the teacher table.
Put chairs around the student tables.
Teardown any additional tables and chairs
Move additional tables and chairs to the hallway (so kids don’t climb on them and get hurt).
Grab the “toys” and “younger kids” bins from the storage closet in the 7-11 classroom and unload the following items:
Put on the student tables: crayons, colored pencils, and paper
Put on the teacher table: lanyards, check-in clipboard, walkie talkie, speaker, rainbow ropes, goldfish container, water pitcher, cups, tissues, germ-x, paper towels, and Clorox wipes.
Refill supplies (if needed)
Extra supplies are in the snacks bin in the storage closet in the 7-11 classroom.
Extra supplies include: snacks, cups, germ-x, tissues, Clorox wipes, and paper towels.
Fill up water pitcher at the water fountain
See if any other teachers / classrooms need help
3-6 Classroom Teardown
Sweep up any crumbs or things on the floor
Use Clorox wipes to wipe any marks on the tables from crayons.
Put everything back into the “toys” and “younger kids” bins
From the student tables: crayons, colored pencils, and paper
From the teacher table: lanyards, check-in clipboard, walkie talkie, speaker, rainbow ropes, goldfish container, water pitcher, cups, tissues, germ-x, paper towels, and Clorox wipes.
Put the “toys” and “younger kids” bins in the closet
Clean up our belongings
See if other classrooms need your help.
You can leave tables and chairs where they are! You don’t need to put any back.
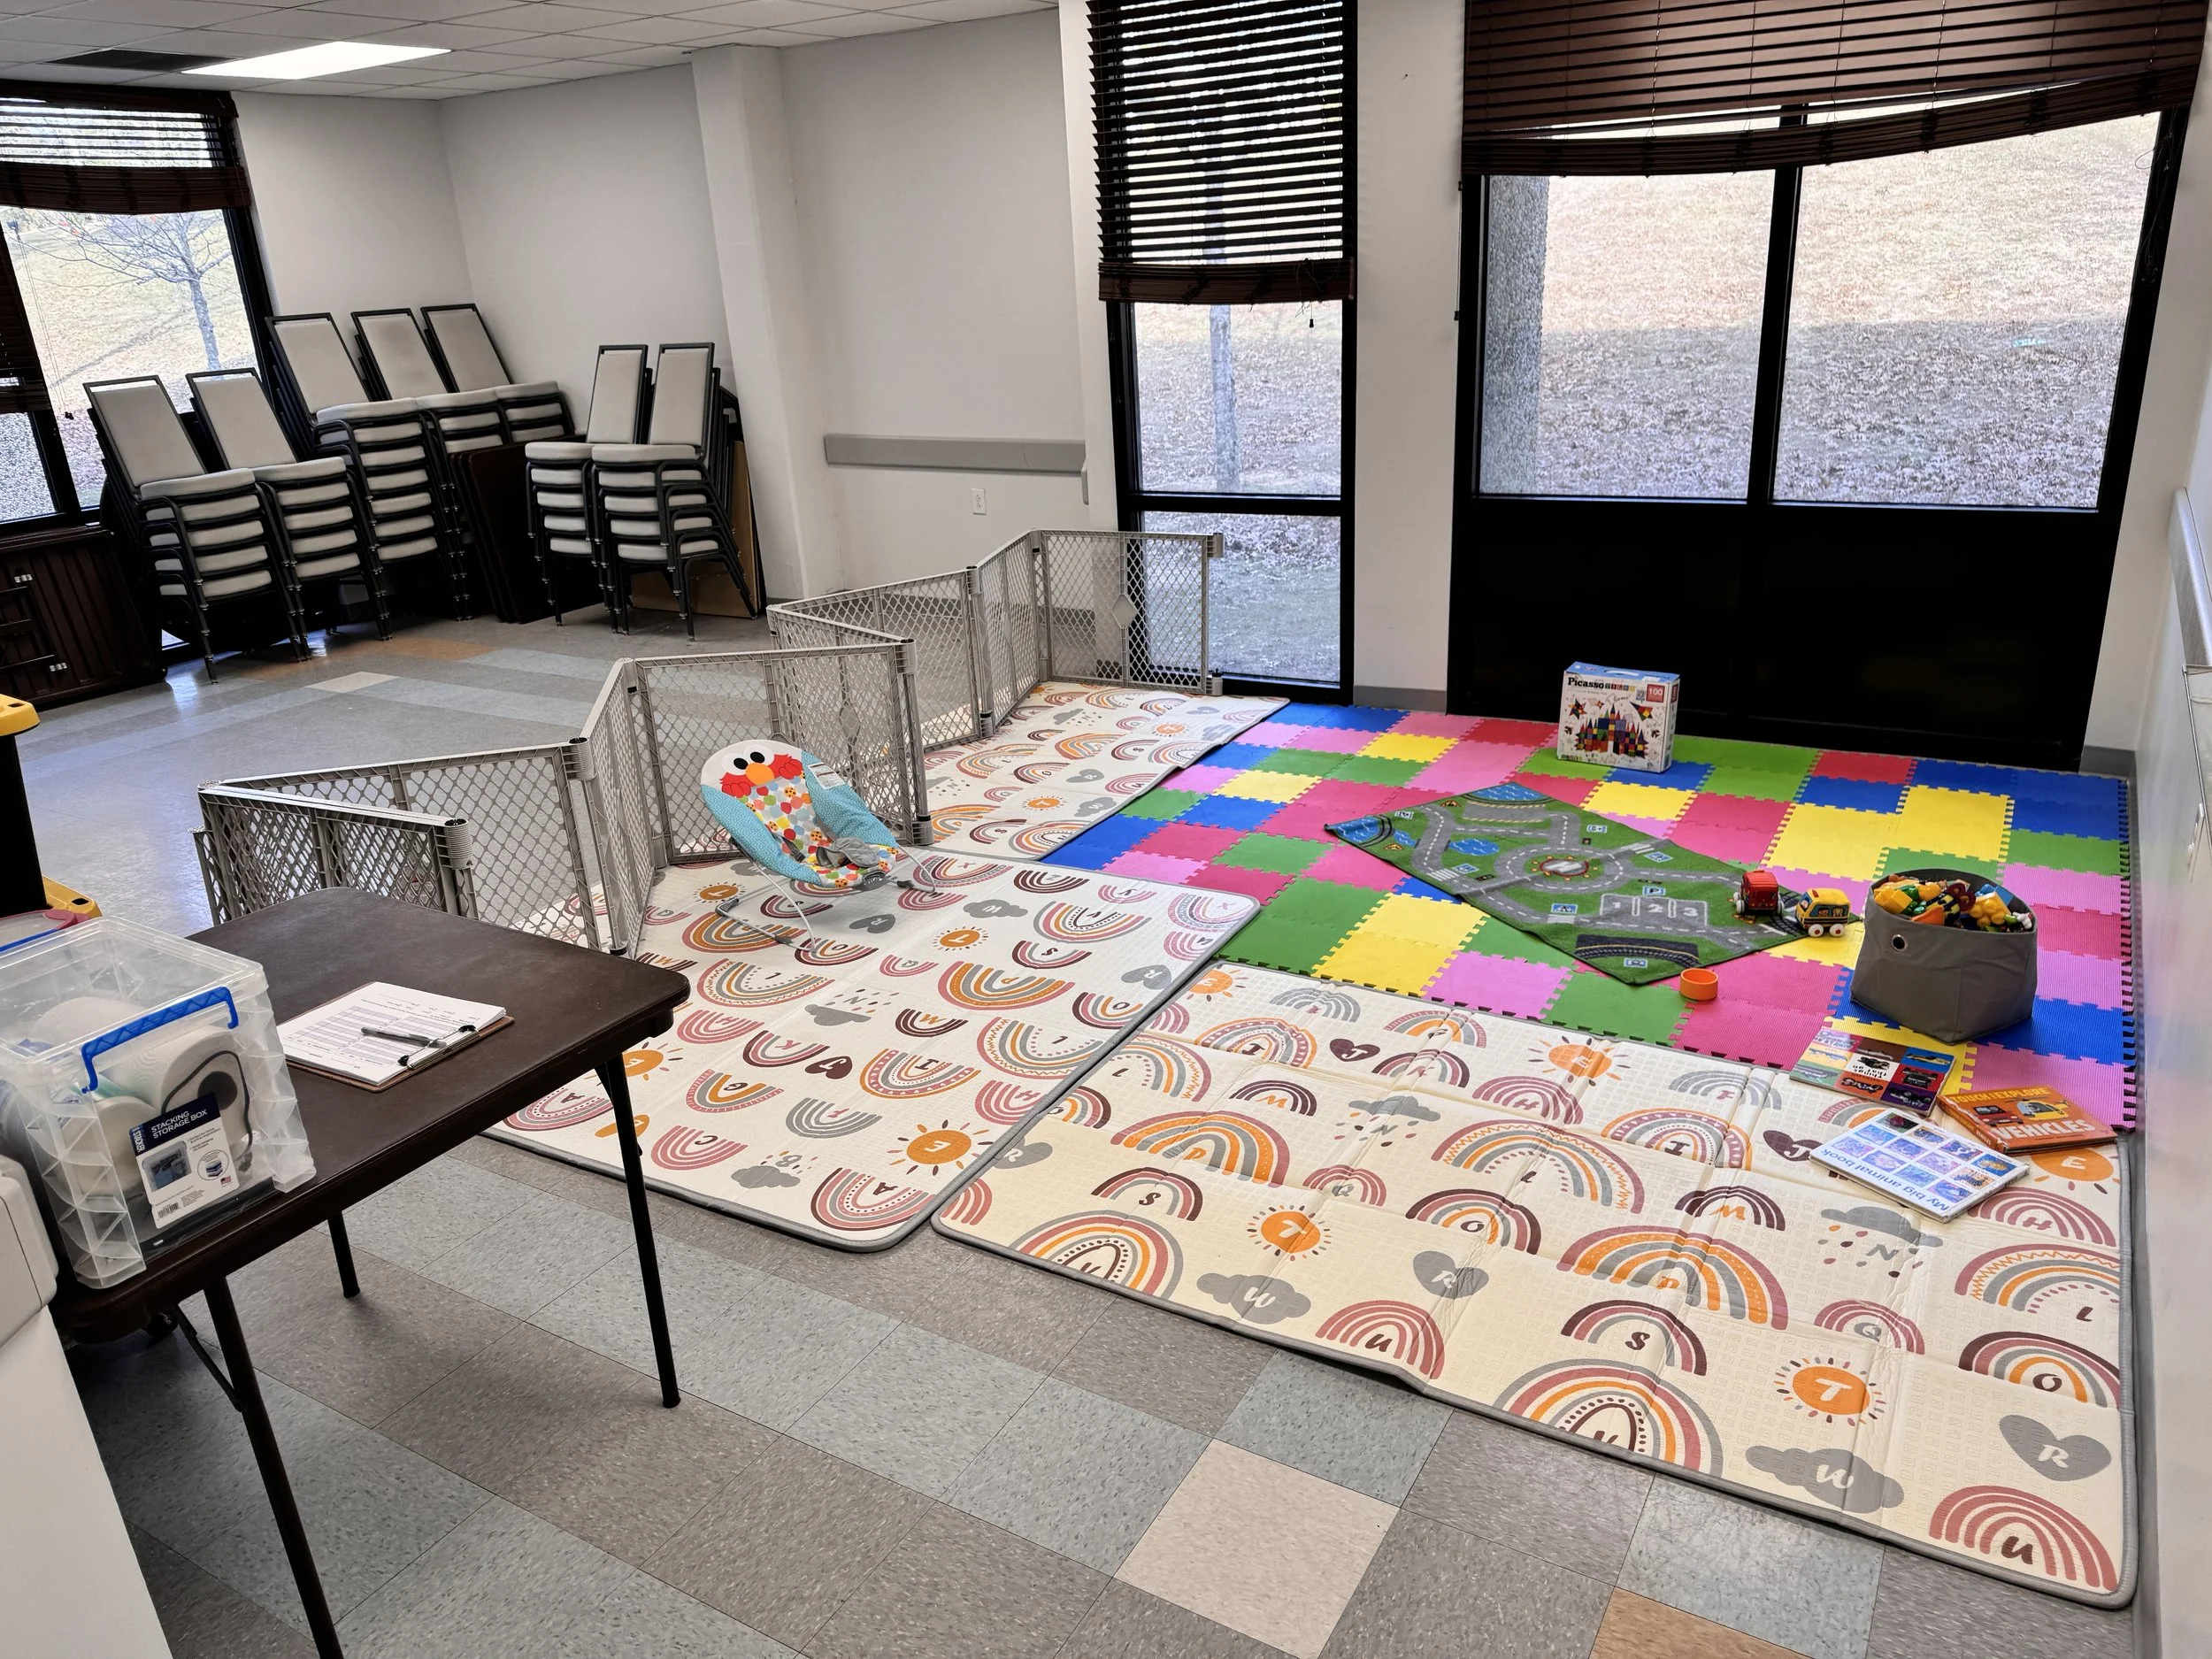
0-2 Classroom
0-2 Classroom Setup
Setup teacher table
You’ll need just one small table to use as the teacher table.
Teardown / move any additional tables and chairs
Grab the following items from the storage closet in the 7-11 classroom:
(2) nursery bins, the baby swing, room divider, baby gate, and 3 gray mat bags.
Room Setup
Layout the 3 mats from the gray bags AND the small rug found in one of the nursery bins
Setup the room divider
Setup the baby gate
Unload the nursery bins
Place on the teacher table: check-in clipboard, lanyards, walkie talkie, tissues, hand sanitizer, speaker, water pitcher, puffs container, and cups
Place the clear book bin and gray toy bin onto the mats
Refill supplies (if needed)
Extra supplies are in the snacks bin in the storage closet in the 7-11 classroom.
Extra supplies include: snacks, cups, germ-x, tissues, Clorox wipes, and paper towels.
Connect your phone to the speaker and play this Spotify playlist. (there’ll be a link here after I make the playlist)
See if any other teachers / classrooms need help
0-2 Classroom Teardown
Put everything back into the 2 nursery bins
From the teacher table: check-in clipboard, lanyards, walkie talkie, tissues, hand sanitizer, speaker, water pitcher, puffs container, and cups
Place the clear book bin and gray toy bin back into the nursery bins.
Sweep up any crumbs or things on the floor
Put the following back in the closet:
2 nursery bins, the baby swing, room divider, baby gate, and 3 gray mat bags
Clean up our belongings
See if other classrooms need your help.
You can leave tables and chairs where they are! You don’t need to put any back.
Check-in table
Check-in Table Setup
Grab the “check in” bin from the storage closet in the 7-11 classroom
Cover the check-in table with the black table cloth from the “check in” bin.
Place the following items from the “check-in” bin onto the check-in table:
The wooden “devotion kids” sign
Put on the table and lean it against the wall if you can
3 framed papers (curriculum, snack, and sick policy)
Lean against the wooden “devotion kids” sign
Set out the laminated papers
Set out a few welcome bags
Set out the printer
Set out a lanyard (or put it on if you are the one doing check-in)
Set out the speaker
Hide the “check-in” bin under the table
Plug in the laptop charger and label printer to the wall
Connect your phone to the speaker and play this Spotify playlist. (there’ll be a link here after I make the playlist)
Sunday morning Check-in/Floater Position
First things first, THANK YOU!
You can start checking kids in at 9:40 when teachers arrive in their classrooms.
The only thing you will need to do is plug the laptop into the wall behind the table as well as the black label printer.
Laptop password is ilive4Him.
Go to wifi settings, look for Bayview Park and log into it.
I will have the Planning Center check in screen pulled up; however, if it gets closed out, look for the purple icon with a white check mark. You’ll select events and the event will be Sunday morning.
As families come in that you know you can go ahead in the search bar and type their last name. If you don’t know a family's name, when they come to the check in table you can ask their last name and pull them up that way.
You will click on their name and then make sure the box besides their name is checked in. (It should automatically do this however if not now you know.) Then you will click the blue check in button at the bottom.
Sometimes the label printer wont print. When that happens at the top of the screen there will be something that says “run diagnostic” or “test diagnostic” click on that and click test print.
Kevin McCalister will print (that's the test print) and then you can hit print again and it should print their names out. If for any reason you have issues please feel free to text me (850-501-8899).
Around 10:15 everyone should be checked in and you can go sit in service. The teachers will have your phone number so you are “on-call” so to speak, so if they need you to help in any of the classrooms they will text you.
Thank you again!
Check-in Table Teardown
Place the following items from the check-in table into the “check-in” bin:
3 framed papers (curriculum, snack, and sick policy)
he laminated papers
Any leftover welcome bags
the printer
The lanyard
the speaker
Put the black table cloth back into the “check in” bin.
Put the “check in” bin and the wooden “devotion kids” sign back into the storage closet in the 7-11 classroom